10 Photoshoot Prep Tips
What should you wear to your shoot? As a general rule, form-fitting outfits photograph better than loose clothing and solid colors photograph better than prints, so if you DO want to wear a pattern try to keep it to a minimum.
What NOT to wear? Loose fitting clothes, too many layers, things that need to be tucked in, anything shiny, capped sleeves, clothes with words or logos - unless you are *specifically* using the words to send a message.
You don’t need expensive clothes. The camera can’t see quality. I’ve had clients buy gorgeous dresses on Amazon for less than $30 and look like a million bucks. You can also RENT fabulous outfits from online sites like Rent the Runway. Shoes? 98 percent of my clients kick theirs off and go barefoot. So spend your money on a pedicure not a new pair of pumps.
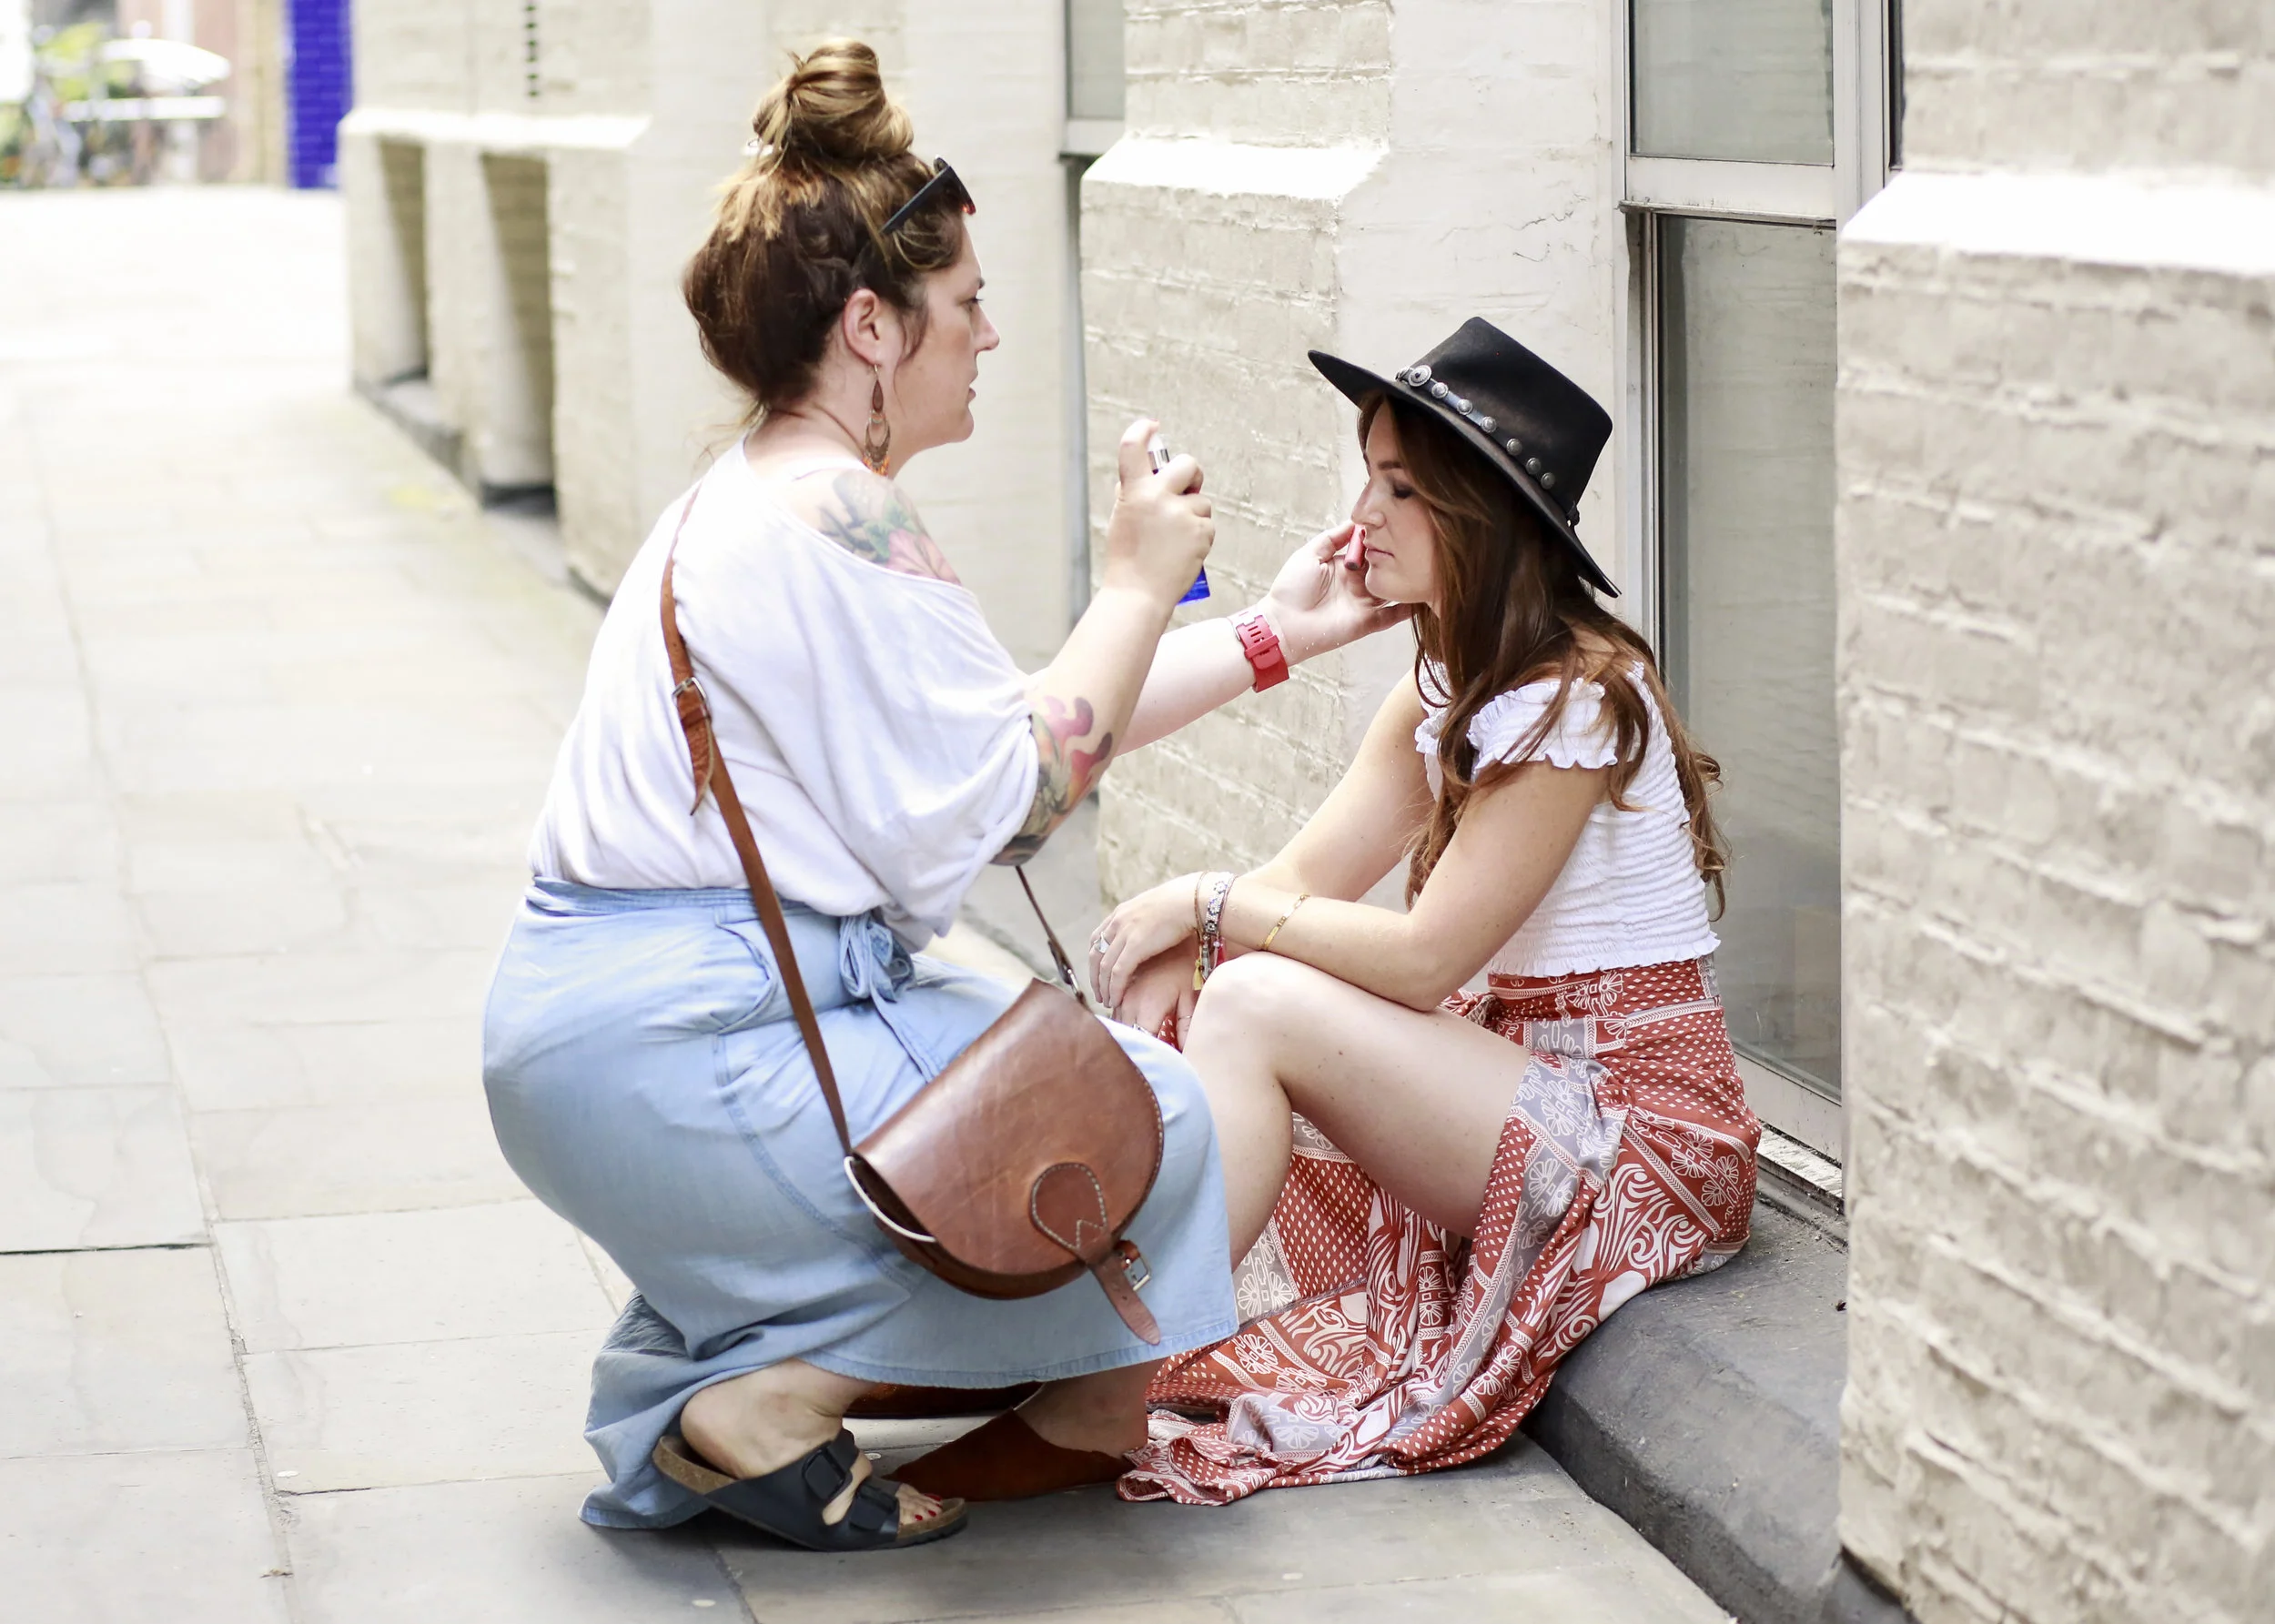
Hair & makeup? Go Pro. Hire a professional. It’s worth every. single. penny. Be sure this person is trained in hair and makeup for photoshoots. I found my first pro artist by doing a simple google search. The best part? They’ll come right to YOU so no need for a trip to the salon. You can expect this to cost about $150 depending on where in the country you live. It will be some of the best money you've ever spent.
Determine *where* you’ll need photos. Make a list of every spot you could potentially need a photo. LinkedIn? An upcoming press release? Do you have a blog where you share your favorite recipes? This may be a great spot to have a photo of you prepping food. Share this list with your photographer so you don’t forget anything the day of your shoot.
Explain to your photographer that you’ll need HORIZONTAL photos! Web designers have told me one of the biggest frustrations they have is not enough horizontal shots to work with when designing a site.
Bring a playlist with your favorite music on the day of your shoot on your smartphone. You can carry it around with you and it will definitely help set the mood.
Stay away from salt, alcohol, dairy and processed foods the week before your shoot to help prevent puffiness and breakouts. But do eat a healthy breakfast the morning of the shoot & bring some snacks with you! Most of the time pimples can be photoshopped out but if you DO end up with a giant cyst call your derm and they can give you a cortisone shot and knock that sucker out!
Moisturize like CRAZY the week before your shoot…both the inside and
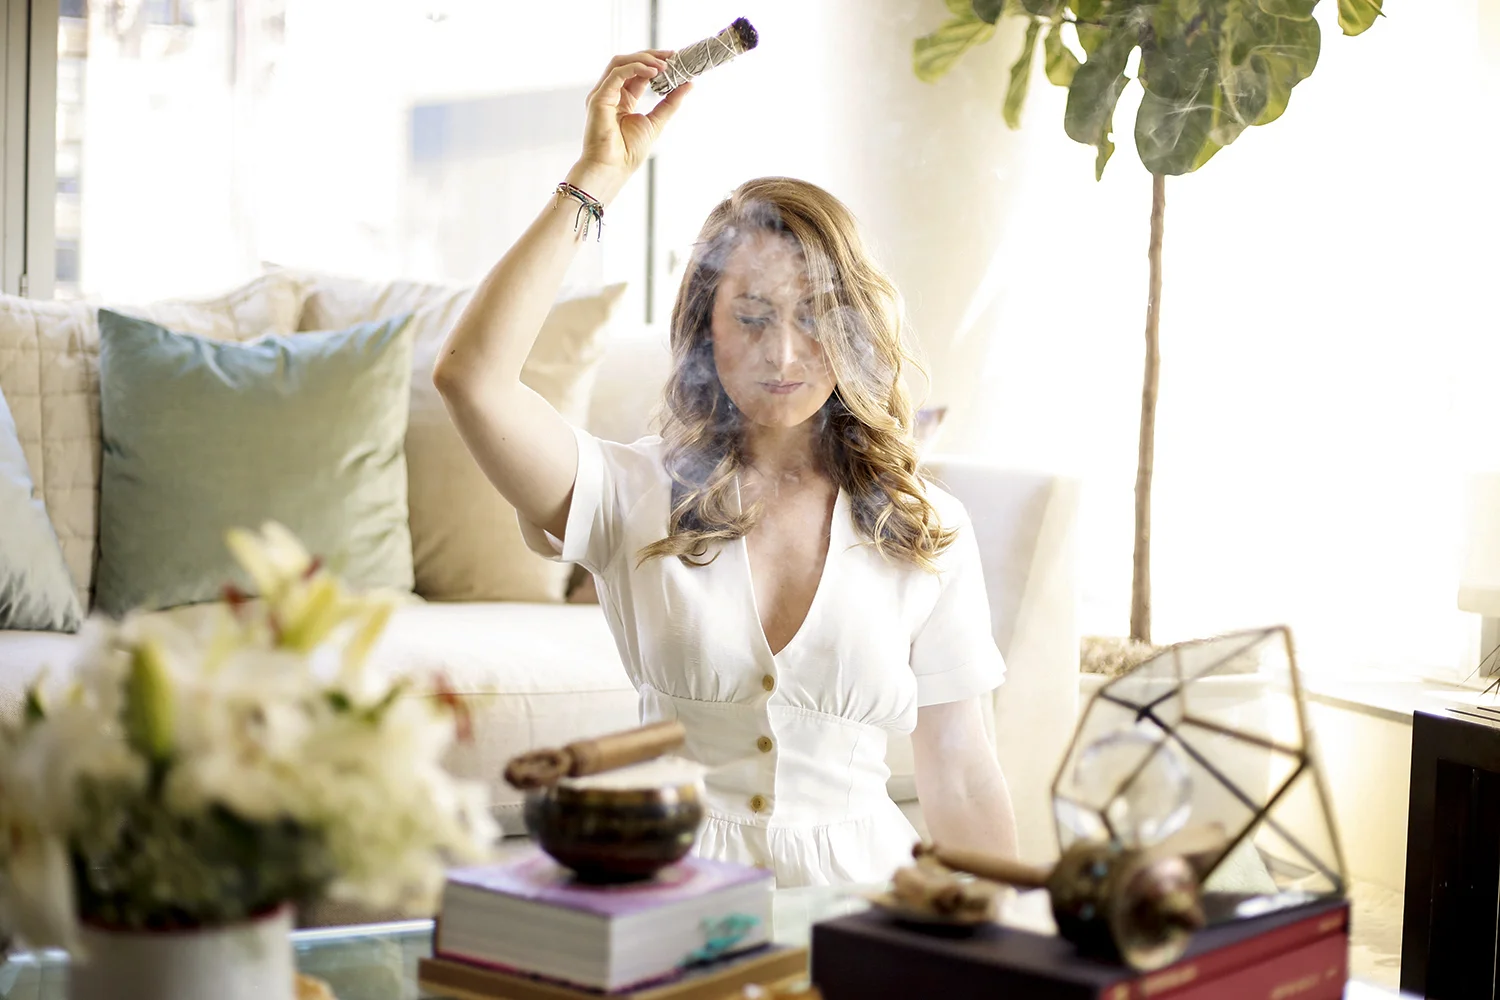
outside of your body. You can work on the inside by drinking loads of waterUse Props in your shoot. Props are fabulous for a number of reasons. Firstly, it can be super awkward to have your photos taken. Having a something to DO with your hands can take some of the pressure off. Additionally, props make your photo feel more like a story. They give the viewer an idea of what it might be like to work with you behind the scenes.

Squarespace SEO Tips
Quick and easy SEO tips for your Squarespace site.
This is a super quick blog post that I'm writing in response to the requests I've received to share my Squarepace SEO tips. To be clear, I am NOT an SEO expert - just sharing what has worked for me in my business!
I’m going to assume that you have a general understanding of SEO & have done your keyword research as that's not something I'll be addressing here. :)
Again, this isn't meant to be a complete SEO roadmap....just some starter steps in the right direction!
Let's get started!
1. Rename your images before uploading. Before you even log into Squarespace, I suggest your re-name all of your images using the keywords you will be using for each page. Example: acting-headshot.jpg and NOT 459202.jpg.
2. Get a Google+ page. If you do not have a Google+ business page – run don’t walk – and create one NOW. This is especially important for local search results. Example: You are a wedding photographer in Boston or a dog walking company in Detroit. You will need to verify a physical address for your business. If you do not have one & don’t want to use your home address, go ahead and rent a PO Box at a UPS store or something similar.
When creating a page in SS:
3. Use custom page titles. Use custom page titles by changing the URL slug to something that contains your keyword. (To do this: Click on the little “gear” to configure page. Enter your unique page name under the description section. )
4. Create a page description. While you’re there, be sure to make good use of the description section by filling it in completely – use an interesting, keyword filled summary of your page. Be sure to write something unique for each page – don’t just copy and paste the same thing throughout your site!
When inserting an image on a page:
5. File name. After uploading your photo, fill in the file name section! This is the Squarespace version of an alt tag. It says "optional" but you should NOT leave it blank. If you do not want this info to show on your image just click on the drop down menu and set it to “do not display caption.”
When creating a blog page:
6. Configure the blog page itself as you would any other page by clicking on the little “gear” and filling in the information.
7. Create a description of your blog.
8. Create a unique URL slug for the blog.
When creating individual blog posts:
Post Title: Create a keyword rich title. In my experience, this title is what will show up alongside your blog image in the google search results.
Options Tab: Create a unique “post url” for your blog.
Location Tab: to enter the location of your business. This should be the SAME location you registered with Google+.
Social Tab: Be sure to have your social media accounts connected and have SS autopost your blogs to your pages.
When creating a gallery:
Configure the gallery page just as you would any other page by giving it a unique url slug.
Create a description for the gallery.
Click thru the content, options, location and social tabs and be sure to fill in as much info as possible.
Title each image. Again, the title of each image is very important here because this is what will show up in Google images! I’ve seen these show up in search in less than one week.
When writing content:
Heading 1 titles should be filled with keywords.
Create unique, helpful content for people that includes links to pages both within your site AND to outside pages.
That should be enough to get you started! I hope this was helpful! I'm putting together a lot more tips so be sure to get on my mailing list and be the first to know when they are ready!